How to Create a Subdomain in cPanel
This guide explains what a subdomain is, when you might use one, and how to create, edit or remove a subdomain inside cPanel.
shop.domain.com or admin.domain.com. It can be used for separate areas of your website without needing to register a new domain.What is a Subdomain?
A subdomain is a branch of your existing domain name. It is often used to organise different areas of a website or to separate different services under the same main domain.
For example, if your main domain is domain.com, you could create:
In these examples, domain.com is the main domain, while shop, admin,
staging and m are subdomains.
When to Use a Subdomain
Subdomains are useful when you want to keep different sections of your website separate while still using the same main domain.
- Creating a staging version of your website before making changes live.
- Running a separate shop area, such as
shop.domain.com. - Creating location-based sections, such as
uk.domain.comorusa.domain.com. - Creating a separate mobile version, such as
m.domain.com. - Separating admin, support, client or members areas from the main website.
Create Your Subdomain in cPanel
Firstly, log in to cPanel using your username and password. These details are usually provided in your
New Account Information email.
- Log in to cPanel.
- Go to the Domains section.
- Select Domains.
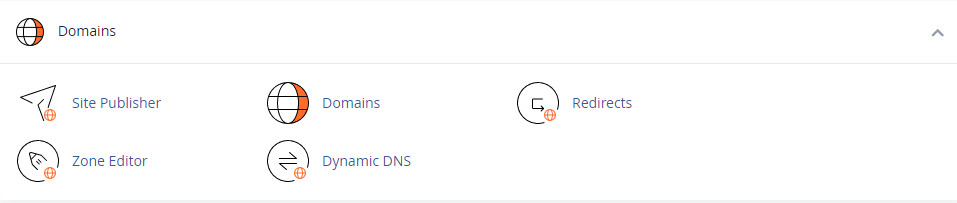
Alternatively, you can use the search bar in the top right-hand corner of cPanel. Type Domains and then choose
Domains from the dropdown results.
Add a New Subdomain
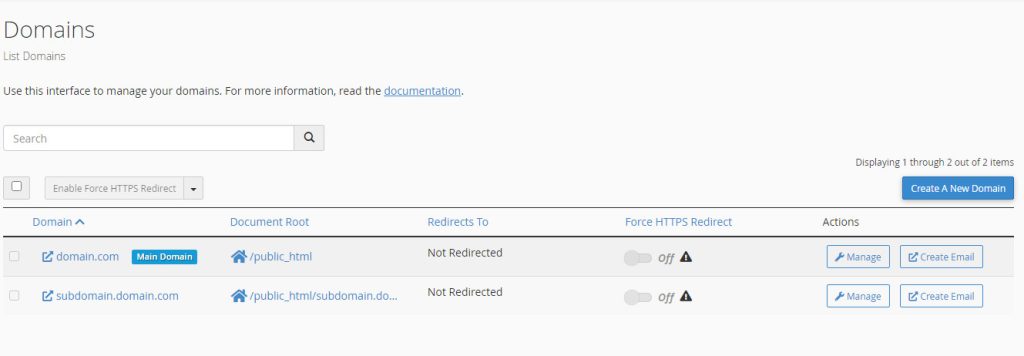
You will now see a list of the current domains and subdomains on your account.
- Click the Create a New Domain button on the right-hand side of the screen.
- Type your subdomain into the field labelled Domain.
- For example, you could enter subdomain.domain.com.
- Check the document root if cPanel asks where the files should be stored.
- Click Submit, or Submit and Create Another if you want to add more.

Your subdomain has now been created in cPanel. You can upload files to the document root shown in cPanel, or install software such as WordPress if your hosting package supports it.
Also check that the subdomain is pointing to the correct document root.
Remove or Edit a Subdomain
You can also manage, edit or remove a subdomain from the same Domains section inside cPanel.
- Log in to cPanel.
- Go to Domains.
- Select Domains.
- Find the subdomain you want to edit or remove.
- Click Manage.
You will now see the management page for that subdomain. From here, you can update the domain settings or click
Remove Domain to delete the subdomain from the account.

make sure you have backed up any files or website data you still need.
Need Help Creating a Subdomain?
If you are unsure which document root to use, or if your subdomain is not loading after it has been created, please contact support.
Need Help?
If you need help creating, editing or removing a subdomain, please sign in to your hosting account and open a support ticket.
Our team will be happy to assist.